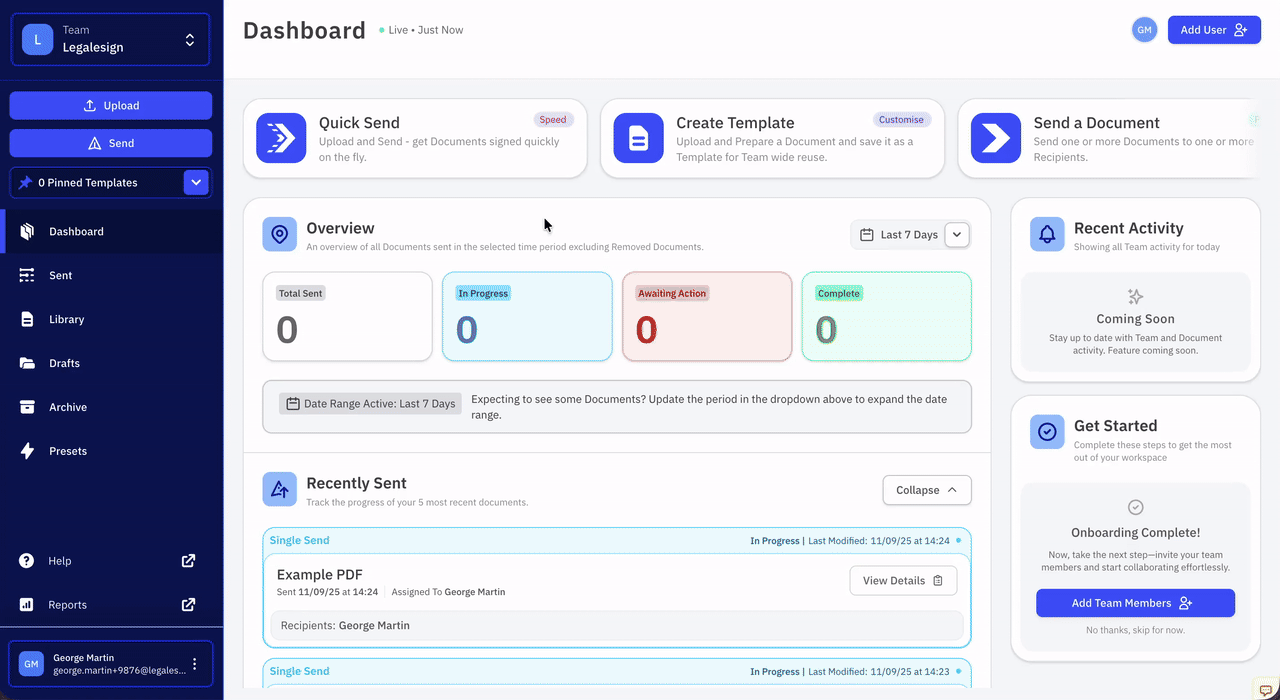
Quick Send
Quick Send lets you upload, prepare, and send a document in just a few seconds. It's ideal for sending a one-off document without needing to create a reusable template.
How to Use Quick Send
-
Go to the Send section in the left-hand navigation.
-
Select Quick Send.
-
Upload your document by dragging and dropping it, or by browsing your device.
-
Add recipient details, including:
-
First name
-
Last name
-
Email address
-
Optional: phone number, role selection, and witness
-
-
On the editing page, drag and drop fields onto your document. You can:
-
Add labels
-
Change field types and formats
-
Assign fields to recipients
-
-
When you're finished, click Send Document.
After Sending
Once your document has been sent, you can:
-
View and track it from your Dashboard, or
-
Start a new send action by choosing to:
-
Send the same document to a different recipient
-
Send a different document to the same recipient
-
Start a brand new send
-
Click Continue to confirm your choice.
Your session-specific template is automatically archived once the send is complete.
Customise Available Fields
Team administrators can control which field types are available in Quick Send at the team level.
- Go to Team Settings.
- Find the Quick Send Fields section.
- Enable or disable the field types your team needs.
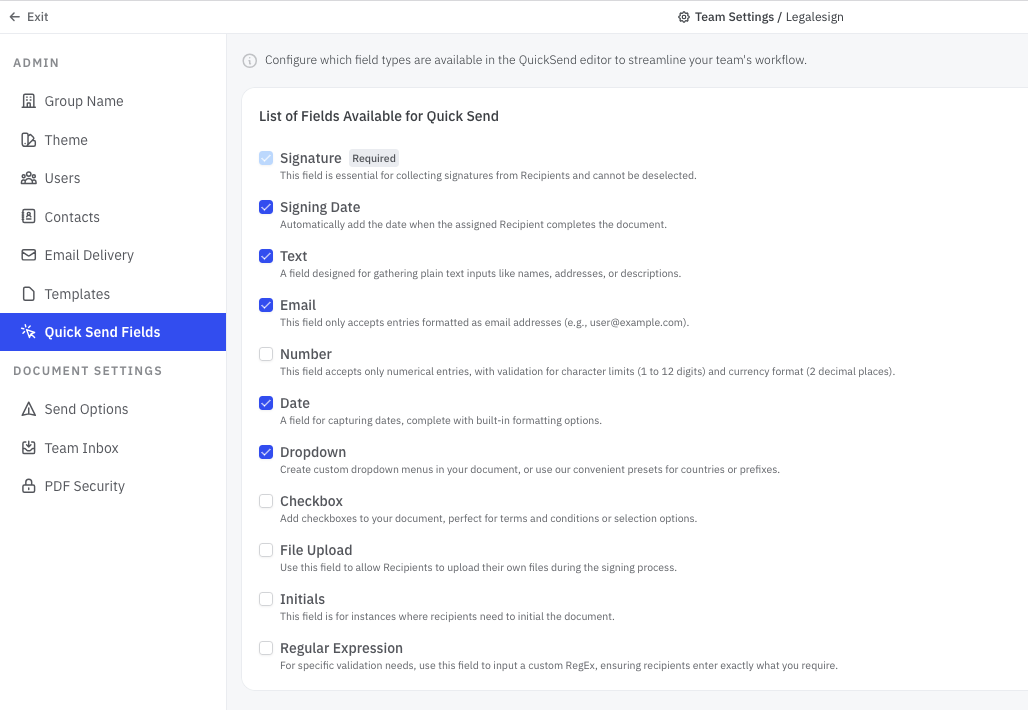
This applies to all users in the team.